I created a magazine article for learners in Photoshop and Illustrator. I used an Adobe application called In Design which is software used to set out magazine articles. In my article I explained how I created graphic images in both of these applications, giving steps for leaners on how they can create a graphic. In my Photoshop tutorial, I talked about how I created a film poster with an image of the final graphic. For my Illustrator tutorial, I used my vector graphic that I made of myself. I used images on the stages that I went through when I created it.
Graphic file formats and applications:
In this article, I have had to create a beginners guide to producing graphics on a Mac. This will be aimed at teenage students to adults.
Editing, Selection and Processing:
The first thing I had to do to start creating my article was research into file formats. I gathered information on the file types: JPG, TFF, PNG, BMP, PSD, AI and WMF. I also gathered information on the applications that I will be talking about (Photoshop and Illustrator). I printed all of this work out so that I could highlight the relevant pieces of information and rewrite it all into my own words so that it is more simpler for beginners to learn. I will keep all of this research of all the editing stages that I have gone through.
Sourcing Images:
I created an image asset list of all of the images that I will be using. I used a table in order to do this with the headings: Type, Description, Image Source and Copyright Status. All of the images that I used on my film poster, DVD sleeve and Illustrator graphic piece, I put in this table.
Preparing Images:
I needed to prepare my images for when I place them onto my article. I had to get screen grabs of each of them first and then crop the images down to the size so they fit in the columns on my article. I also needed to scale them to the correct size. By doing this, I will be able to place them straight into my article.
Design Your Pages:
I prepared designs on how my article was going to look like. Instead of preparing paper designs, I did this on In Design using the rectangle frame tool to represent where the images will go and then fake text in the text boxes. From doing this I will be able to plan where each image will go and will be easier to picture what it will look like.
Thursday, 8 January 2015
Wednesday, 7 January 2015
Images Used In Article


 These are the images I have used in my magazine article. I will explain what I did to edit these images.
I didn't have to edit my film poster that much to insert it into my article. I had to open it in Photoshop where I created it and then take a screen grab of it. I could then drag it from my desktop straight into InDesign.

 For the tool bar images, I screen grabbed them from Photoshop and Illustrator and also cropped them into a better size. I could place them straight into my magazine article.

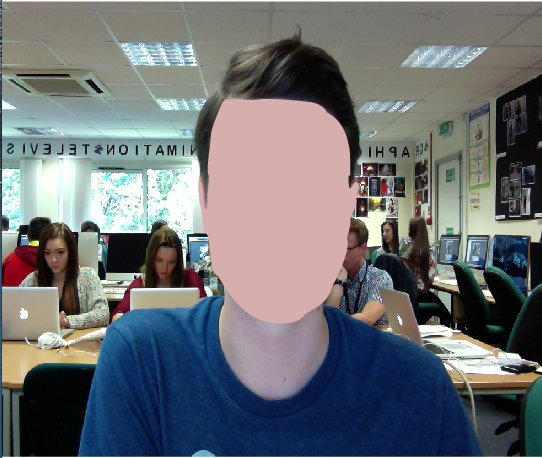
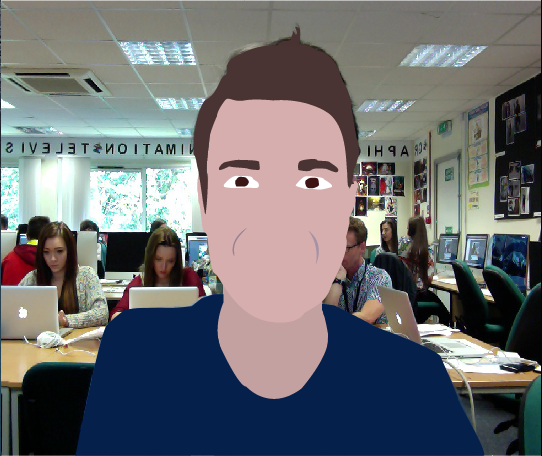
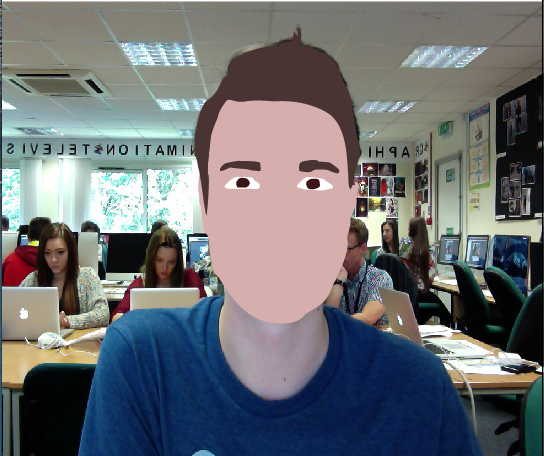 With my main images of my article which was my Illustrator graphic piece, I took screen grabs of the process of what I went through making it. I could then crop all of the background out and make it into a square box to fit exactly where I want it.
Overall I didn't have to edit my images that much apart from getting the screen grabs and cropping them to a correct size.


Subscribe to:
Comments (Atom)